
04/10Electronics new
PCB Etching Machine
Automatic PCB etching machine.
Idea
Sooner or later, every hobbyist electronics enthusiast reaches a point where using universal prototyping boards is no longer sufficient. For me, this moment came quickly due to my fascination with SMD components.
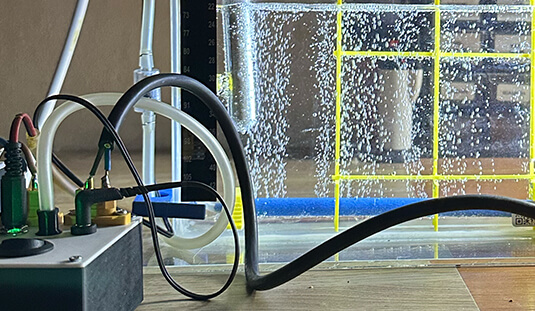
Etching PCBs using the thermotransfer method in sodium persulfate (B327) is relatively easy. It's easy until we need to achieve really good quality with small pitches. In such cases, we must remember to maintain the etching solution at the appropriate temperature. Aeration (bubbles) speeds up the etching process by removing the excess copper, which reduces the risk of over-etching (due to time constraints).
The project has undergone numerous improvements over the years; I hope the version presented here is final and was created in 2024.
Technology stack
04 Arduino
 C++
 Eagle
 Fusion 360
The etcher is managed by an 8-bit microcontroller from Atmel. It continuously monitors the temperature of the etching solution (using a DS18B20 sensor) and regulates the power of the heating element through a PID method via an IRFZ44N MOSFET transistor. Aeration and aquarium lighting are controlled using buttons with predefined level settings. All information about the device's status is displayed on a 2.5” monochrome display with a user-friendly interface designed by me. I also added a buzzer to the controller to notify about the most important device states. The program was entirely written in C/C++. For safety reasons, I decided to power all components submerged in the solution with a maximum of 12V of direct current, which resulted in having to create the heating element by myself.
Interface
Project has gone through several graphical interfaces, ranging from those displaying temperature graphs to a simple animated layout, through which I learned to optimize animation rendering using the U8G2 library.
Parts
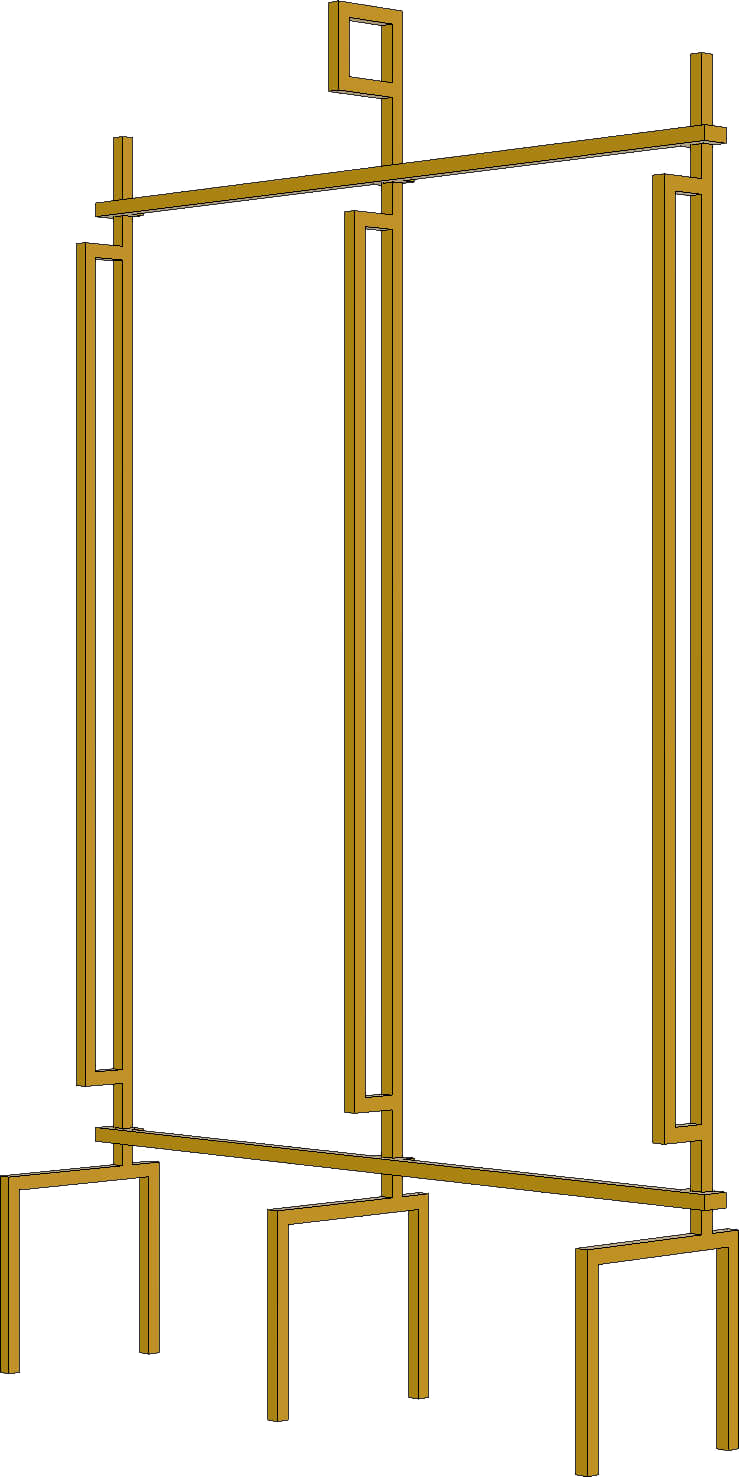
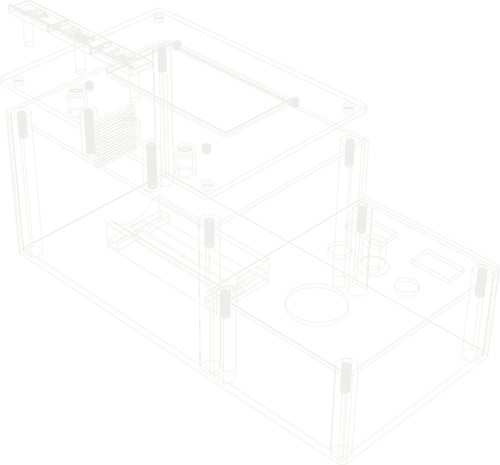
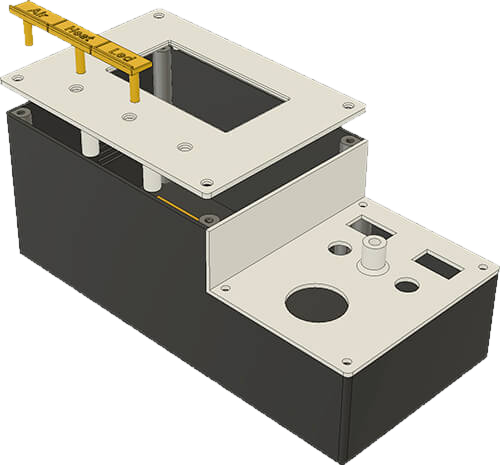
All elements were designed by me in Autodesk Fusion 360 and ultimately printed on a Bambulab A1 Combo printer, primarily using PLA material.
Heating element
The main problem in the construction of the etching machine was to isolate the heater from the B327. I built the heating element in a 16mm test tube filled with quartz sand, and the entire assembly was sealed with a plastic cap secured with silicone. Over time, the cap allowed liquid to seep inside. After many attempts (I was determined to have the heater mounted horizontally just above the aerator), I decided to change the design and position the heater vertically, so that its beginning was outside the aquarium.
Final result
The solution heats from room temperature to 45°C in just under 15 minutes. The etching process takes about 10 minutes, depending on the PCB design. 4 mil thick traces come out excellently without under-etching.